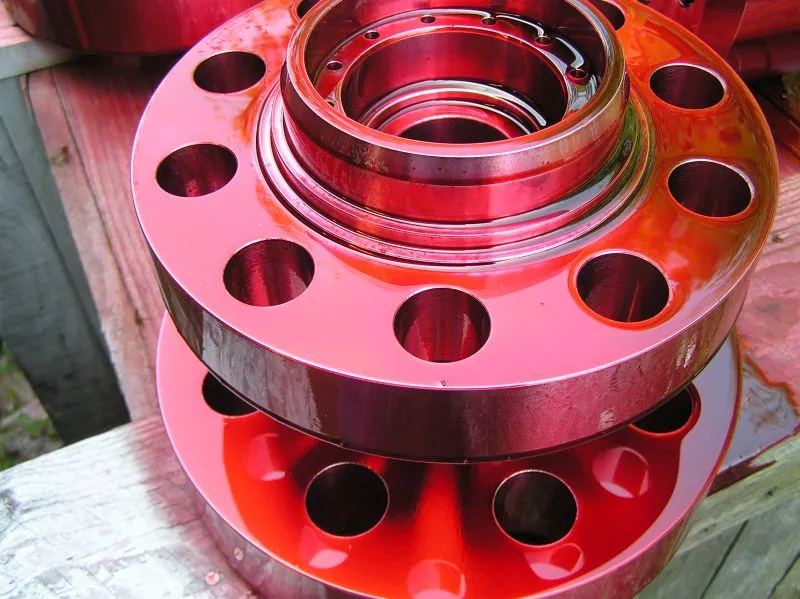
According to the ASME B16.34 and ASTMA217 A217M-2007 standards, if the castings are non-magnetic like nickel-based alloys, liquid penetrant tests can be used to test the part, such as castings meeting the S4 (magnetic particle inspection) supplementary requirements. As a rule, repair welding should be checked by magnetic particle inspection that inspects the unified quality specification of castings.
If the casting leaks during the hydrostatic test, the casting complies with the rules of the radiographic inspection supplementary requirements; the depth of any pits to be repaired exceeds 20% or 25mm of the wall thickness, or the area of any pits to be repaired is approximately greater than 65cm2, it must be inspected by the radiographic inspection. Regarding the defects and intensive repair welding of important application parts, effective non-destructive inspection must be carried out to prove that they are qualified before use. After repairing and welding serious defects, radiographic inspection should be carried out, and ultrasonic flaw detection can also be used even for one piece.
How to identify the results of the non-destructive inspection? Regarding the grooves and repair welding parts of the cast steel valve used for the globe valve in the power station, if the identification is carried out according to GB/T5677-1985, the inspection results may be qualified at Grade three or above. JB/T644-2008 also provides clear rules for the existence of two different grades of defects in the castings. When there are two or more types of defects with different grades in the identification area, the lowest grade should be used. When there are two or more types of defects with the same level, their grades should be one grade lowered. The slag inclusion, lack of fusion and penetration in the repair welding area can be regarded as the slag inclusion of the forging, and the gas hole in the repair welding area can be regarded as the porosity of the forging defect.
If the order contract does not indicate the valve casting's grade and there is no clear qualification grade after repair welding, many contradictions are brought to the production, inspection and sales of the valve. Both the manufacturer and the user should pay attention to the non-destructive inspection of the welded and repaired valve body, and ensure the safety of the valve.

